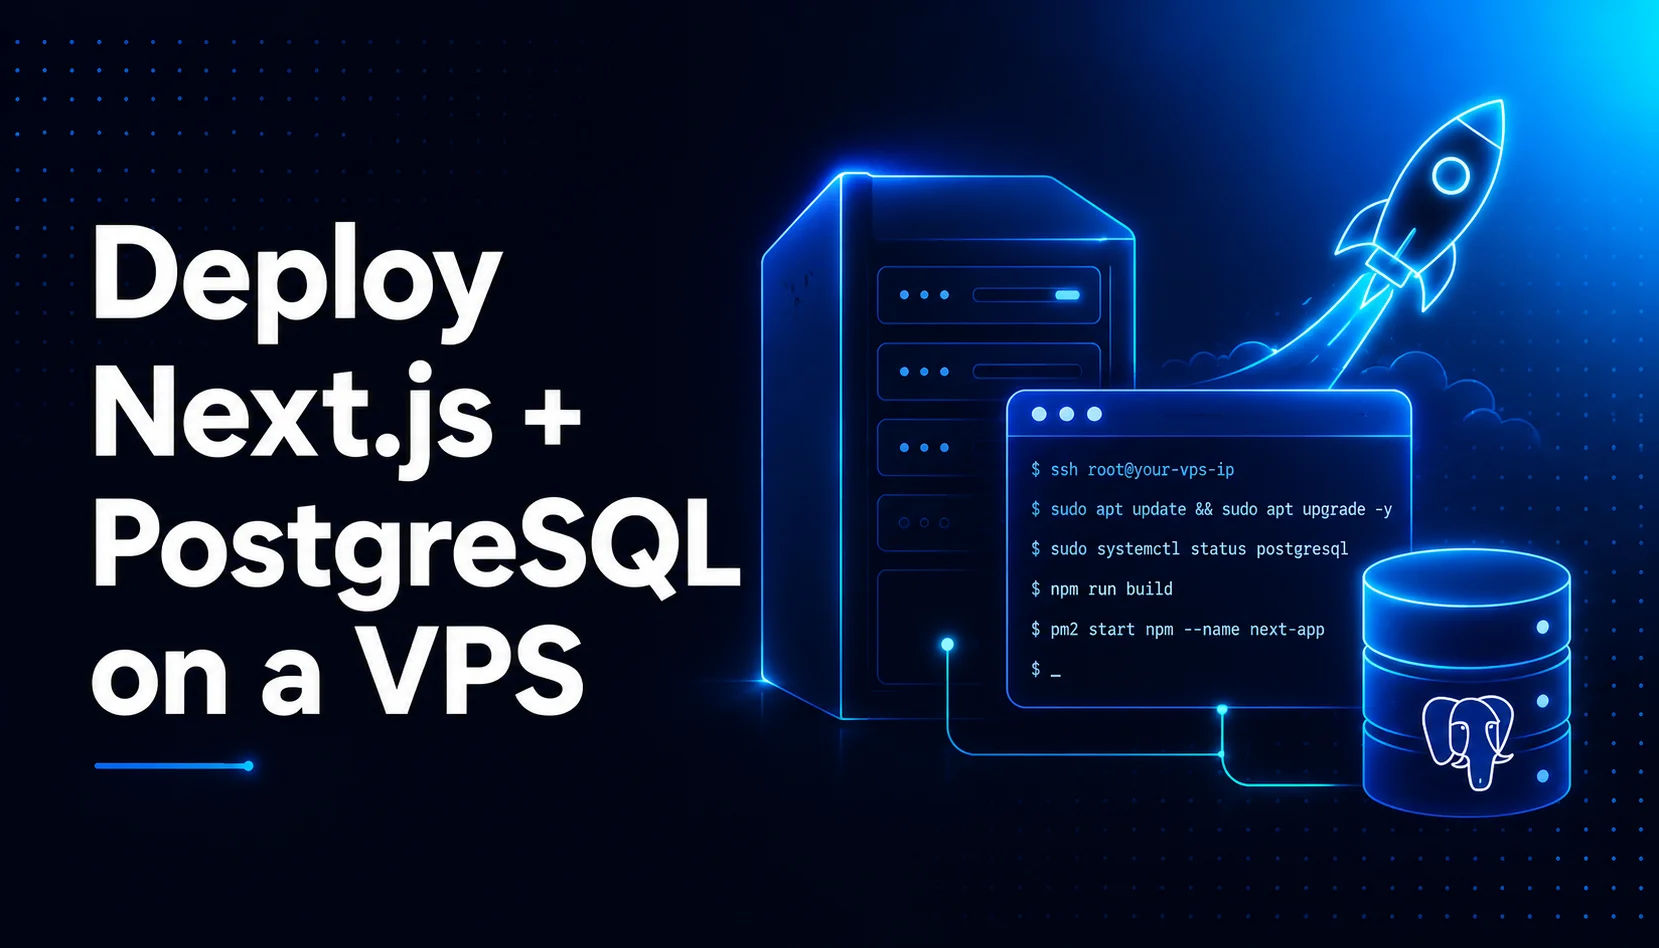
Most tutorials stop at "push to Vercel". This is the full path: a Next.js app with a self-hosted Prisma and PostgreSQL database, running on a VPS with Nginx, PM2, SSL and automated deployments.
Most Next.js tutorials end at npm run dev. The deployment section says "push to Vercel" and moves on. That is fine until you need to own your infrastructure, self-host your database, keep costs predictable, or simply understand what actually happens when your app goes live.
I deploy full-stack apps this way for real client projects, and the part that trips most people up is not Next.js itself, it is the database. Plenty of guides quietly swap in a managed database like Neon or Supabase. This one does not. We install and run PostgreSQL on the same VPS, wire it up with Prisma, and take the whole thing from a bare server to a live HTTPS site with automated deployments.
By the end you will have a production-ready Next.js, Prisma and PostgreSQL stack running on your own VPS, behind Nginx, managed by PM2, secured with a free SSL certificate, and redeploying itself every time you push to GitHub.
Why deploy on a VPS instead of Vercel
Vercel is excellent, and for many projects it is the right call. But there are solid reasons to self-host on a VPS:
Cost predictability. A small VPS is a fixed monthly price. Managed platforms can get expensive fast once you cross bandwidth, function-invocation and image-optimisation limits.
A self-hosted database. Running PostgreSQL on the same box keeps your data under your control and avoids a separate database bill.
Full control. You decide the runtime, the cron jobs, the background workers and the firewall rules.
Learning what production really means. Once you have done this manually, the abstractions other platforms sell you make a lot more sense.
The architecture we are building
Everything lives on one Ubuntu VPS. The request flow looks like this:
Internet
   |
Nginx  (reverse proxy, ports 80 and 443, handles SSL)
   |
Next.js app  (managed by PM2, runs on port 3000)
   |
Prisma ORM
   |
PostgreSQL  (local database on the same server)
Nginx takes the public traffic, terminates SSL, and forwards requests to the Next.js process running on port 3000. PM2 keeps that process alive and restarts it on crash or reboot. Prisma talks to a PostgreSQL database running locally.
Prerequisites
Before you start, make sure you have:
A VPS running Ubuntu 22.04 or newer. I use Hostinger, but any provider works the same way (DigitalOcean, Hetzner, Vultr, Linode). Aim for at least 2GB RAM, since Next.js builds and a local database need headroom.
A domain name you can edit DNS records for.
A Next.js app that uses Prisma and PostgreSQL, pushed to a GitHub repository.
Basic comfort with the Linux terminal.
A quick note before we touch any commands: never commit real credentials, IPs, tokens or passwords to a public repository or a published article. Throughout this guide I use placeholders like your_ip_address, your_vps_password and your_db_password. Replace them with your own values, and keep those values in environment variables, not in your codebase.
Step 1: Connect to your VPS via SSH
Open your terminal (or a client like MobaXterm or PuTTY on Windows) and connect:
bash
ssh root@your_ip_addressEnter your password when prompted (your_vps_password).
A strong recommendation before going further: do not run a production app as root over a password login. Create a non-root user with sudo rights and switch to SSH key authentication. It takes two minutes and removes the single most common cause of a compromised server:
bash
# Create a new user and give it sudo access
adduser deploy
usermod -aG sudo deploy

# From your local machine, copy your SSH key to the server
ssh-copy-id deploy@your_ip_address
After confirming you can log in as the new user, disable root SSH login and password authentication in /etc/ssh/sshd_config, then reload SSH. The rest of this guide uses sudo where root is required.
Step 2: Update the system
Always refresh and patch the server first:
bash
sudo apt update && sudo apt upgrade -yapt update refreshes the package list and apt upgrade -y installs the latest versions, answering yes automatically. This makes sure you have the most recent security patches before installing anything.
Step 3: Install Node.js
Add the NodeSource repository so you get a current LTS release, then install:
bash
curl -fsSL https://deb.nodesource.com/setup_20.x | sudo bash -
sudo apt install nodejs -y
Verify both Node.js and npm installed correctly:
bash
node -v && npm -vStep 4: Install Git, PM2 and Nginx
Three tools do the heavy lifting in production.
bash
# Git, to clone and pull your code
sudo apt install git -y

# PM2, a process manager that keeps your app running
sudo npm install -g pm2

# Nginx, the web server that acts as a reverse proxy
sudo apt install nginx -y
PM2 runs your Next.js app in the background, restarts it if it crashes, and brings it back up automatically when the VPS reboots. Nginx listens on ports 80 and 443, forwards requests to your app on port 3000, and serves traffic efficiently.
Step 5: Clone your repository
Place the project in /var/www, which is the conventional location and keeps the CI/CD step later consistent.
bash
sudo mkdir -p /var/www
cd /var/www
For a private repository you have two options. The cleaner one is a GitHub deploy key, which is scoped to a single repo and does not expose your personal account. The quicker one is a personal access token:
bash
git clone https://your_github_token@github.com/your_username/your-repo-name.gitReplace your_github_token, your_username and your-repo-name with your own. Treat that token like a password. If it ever lands somewhere public, revoke it immediately in GitHub under Settings, Developer settings, Personal access tokens.
Step 6: Install dependencies
Move into the project and install:
bash
cd /var/www/your-repo-name
npm install
You can confirm which environment files exist with:
bash
ls -la | grep envStep 7: Set up PostgreSQL
Install PostgreSQL and its contrib package, then start the service and enable it on boot:
bash
sudo apt install postgresql postgresql-contrib -y
sudo systemctl start postgresql
sudo systemctl enable postgresql
Enter the PostgreSQL console as the postgres user:
bash
sudo -u postgres psqlYour prompt changes to postgres=#. Now create the database, a dedicated user, and grant privileges:
sql
CREATE DATABASE your_db_name;
CREATE USER your_db_user WITH PASSWORD 'your_db_password';
GRANT ALL PRIVILEGES ON DATABASE your_db_name TO your_db_user;
On PostgreSQL 15 and newer, database privileges alone are not enough. Connect to the database and grant rights on the public schema too, otherwise Prisma migrations will fail with a permissions error:
sql
\c your_db_name
GRANT ALL ON SCHEMA public TO your_db_user;
Exit the console:
sql
\qStep 8: Configure environment variables
Create the production environment file inside your project:
bash
cd /var/www/your-repo-name
nano .env.production
Add your variables, including the database connection string that points at the local PostgreSQL instance:
DATABASE_URL="postgresql://your_db_user:your_db_password@localhost:5432/your_db_name"
NODE_ENV=production
NEXTAUTH_URL="https://your_domain.com"
NEXTAUTH_SECRET="generate_a_long_random_secret"
Save with Ctrl + O, press Enter, then exit with Ctrl + X. Lock the file down so only the owner can read it:
bash
chmod 600 .env.productionStep 9: Run Prisma migrations
Generate the Prisma client based on your schema, then apply migrations to the production database:
bash
npx prisma generate
npx prisma migrate deploy
Use migrate deploy in production, not migrate dev. The deploy command applies existing migrations without trying to create new ones or reset data, which is exactly what you want on a live server.
Step 10: Build the app
Create the optimised production build:
bash
npm run buildStep 11: Run the app with PM2
Start your Next.js app under PM2. Pick a name and use it consistently, because the CI/CD step later will reference the same name:
bash
pm2 start npm --name "your-app-name" -- startHere pm2 start launches the process, --name "your-app-name" labels it, and everything after -- is the command PM2 runs, in this case npm start, which boots the production server on port 3000.
Make it survive reboots and save the process list:
bash
pm2 startup
pm2 save
Check that it is running:
bash
pm2 statusYou want to see your app listed as online.
Step 12: Point your domain to the VPS
Log in to your domain registrar or DNS panel. On Hostinger, that is hPanel, then Domains, then the DNS or Name Servers section. Add or edit an A record:
Type: A
Name:
@(or leave blank for the root domain)Points to:
your_ip_addressTTL: 3600
Add a second A record with the name www pointing to the same IP so both versions resolve.
Once saved, check propagation from the server:
bash
ping -4 your_domain.com -c 4If it replies with your VPS IP, DNS has propagated.
Step 13: Configure Nginx as a reverse proxy
Create a config file for your site:
bash
sudo nano /etc/nginx/sites-available/your_domain.comPaste this server block, which forwards all traffic to your app on port 3000 and passes the headers Next.js needs:
nginx
server {
    listen 80;
    listen [::]:80;

    server_name your_domain.com www.your_domain.com;

    location / {
        proxy_pass http://localhost:3000;
        proxy_http_version 1.1;
        proxy_set_header Upgrade $http_upgrade;
        proxy_set_header Connection 'upgrade';
        proxy_set_header Host $host;
        proxy_cache_bypass $http_upgrade;
        proxy_set_header X-Real-IP $remote_addr;
        proxy_set_header X-Forwarded-For $proxy_add_x_forwarded_for;
        proxy_set_header X-Forwarded-Proto $scheme;
    }
}
Enable the site by symlinking it into sites-enabled, and remove the default site so it does not interfere:
bash
sudo ln -s /etc/nginx/sites-available/your_domain.com /etc/nginx/sites-enabled/
sudo rm /etc/nginx/sites-enabled/default
Test the configuration, then restart Nginx:
bash
sudo nginx -t
sudo systemctl restart nginx
sudo systemctl status nginx
Your site should now load over plain HTTP at your domain.
Step 14: Add a free SSL certificate with Certbot
Install Certbot and its Nginx plugin:
bash
sudo apt install certbot python3-certbot-nginx -yIssue and install the certificate for both the root and www versions:
bash
sudo certbot --nginx -d your_domain.com -d www.your_domain.comCertbot edits your Nginx config to serve HTTPS and sets up automatic renewal. Certificates from Let's Encrypt last 90 days, but the renewal runs on a system timer, so you do not need to renew by hand. Confirm the renewal works with a dry run:
bash
sudo certbot renew --dry-runYour app is now live over HTTPS.
Step 15: Automate deployment with GitHub Actions
Manual deploys get old fast. Let us make every push to main deploy itself.
First, generate an SSH key pair on the VPS for GitHub Actions to use:
bash
ssh-keygen -t rsa -b 4096 -C "github-actions-deploy"Add the public key to the server's authorised keys, then display the private key so you can copy it:
bash
cat ~/.ssh/id_rsa.pub >> ~/.ssh/authorized_keys
cat ~/.ssh/id_rsa
In your GitHub repository, go to Settings, then Secrets and variables, then Actions, and add three repository secrets:
VPS_HOSTset toyour_ip_addressVPS_USERNAMEset to your deploy usernameVPS_SSH_KEYset to the full private key, including the BEGIN and END lines
Now create the workflow file in your project:
bash
mkdir -p .github/workflows
nano .github/workflows/deploy.yml
Paste this workflow. Note that the app name, the project path and the branch all match the values used earlier, which is the most common reason these pipelines fail when they are copy-pasted:
yaml
name: Deploy to VPS

on:
  push:
    branches:
      - main

jobs:
  deploy:
    runs-on: ubuntu-latest
    steps:
      - name: Deploy to VPS
        uses: appleboy/ssh-action@master
        with:
          host: ${{ secrets.VPS_HOST }}
          username: ${{ secrets.VPS_USERNAME }}
          key: ${{ secrets.VPS_SSH_KEY }}
          script: |
            cd /var/www/your-repo-name
            git pull origin main
            npm install
            npx prisma generate
            npx prisma migrate deploy
            npm run build
            pm2 restart your-app-name
Commit and push the workflow. One gotcha: if your GitHub token does not have the workflow scope, the push will be rejected. Regenerate the token with the workflow scope enabled, then push again. From this point on, every push to main deploys automatically: pull, install, generate, migrate, build, restart, live in a couple of minutes.
Common issues and fixes
502 Bad Gateway. Nginx is up but cannot reach your app. Check that the Next.js process is running with pm2 status, and that it is actually listening on port 3000. If PM2 shows the app as errored, read the logs with pm2 logs your-app-name.
Prisma "permission denied for schema public". You are on PostgreSQL 15 or newer and skipped the schema grant in Step 7. Reconnect with \c your_db_name and run GRANT ALL ON SCHEMA public TO your_db_user;.
Port 3000 already in use. A stale process is holding the port. Find it with sudo lsof -i :3000 and stop it, or delete the old PM2 process with pm2 delete your-app-name before restarting.
Environment variables not loaded. Make sure your start script reads .env.production and that NODE_ENV is set to production. Rebuild after any change to environment variables, since Next.js inlines public variables at build time.
Frequently asked questions
Can I deploy without a domain? Yes. You can reach the app at your server IP on port 3000, or configure Nginx to serve it on port 80. You only need a domain when you want a custom URL and an SSL certificate, since Certbot validates ownership of a real domain.
Do I need Docker? No. Docker is optional. This setup runs Next.js directly with PM2 and Nginx, which is lighter and simpler for a single app on one server.
How do I update the app after pushing new code? With the GitHub Actions workflow above, a push to main handles it automatically. Manually, you would run git pull, npm install, npx prisma generate, npm run build and pm2 restart your-app-name.
Is a VPS cheaper than Vercel? For production apps with steady traffic, usually yes. A small VPS gives you fixed pricing and a self-hosted database, while managed platforms can scale in cost quickly past their free-tier limits.
Final thoughts
That is the full path from a bare Ubuntu server to a live, HTTPS-secured Next.js app with its own PostgreSQL database and a deployment pipeline that runs itself. The first time through takes an afternoon. After that, shipping is a git push.
This is the same stack I use on real client projects, from SaaS platforms to startup MVPs. If you would rather hand the infrastructure side off and focus on your product, that is the kind of work I do. Take a look at my services or get in touch.
Osama Habib
Multan, Pakistan
Full Stack Developer specialising in Next.js, Node.js, and the MERN stack. I write about modern web development, system design, and practical engineering.