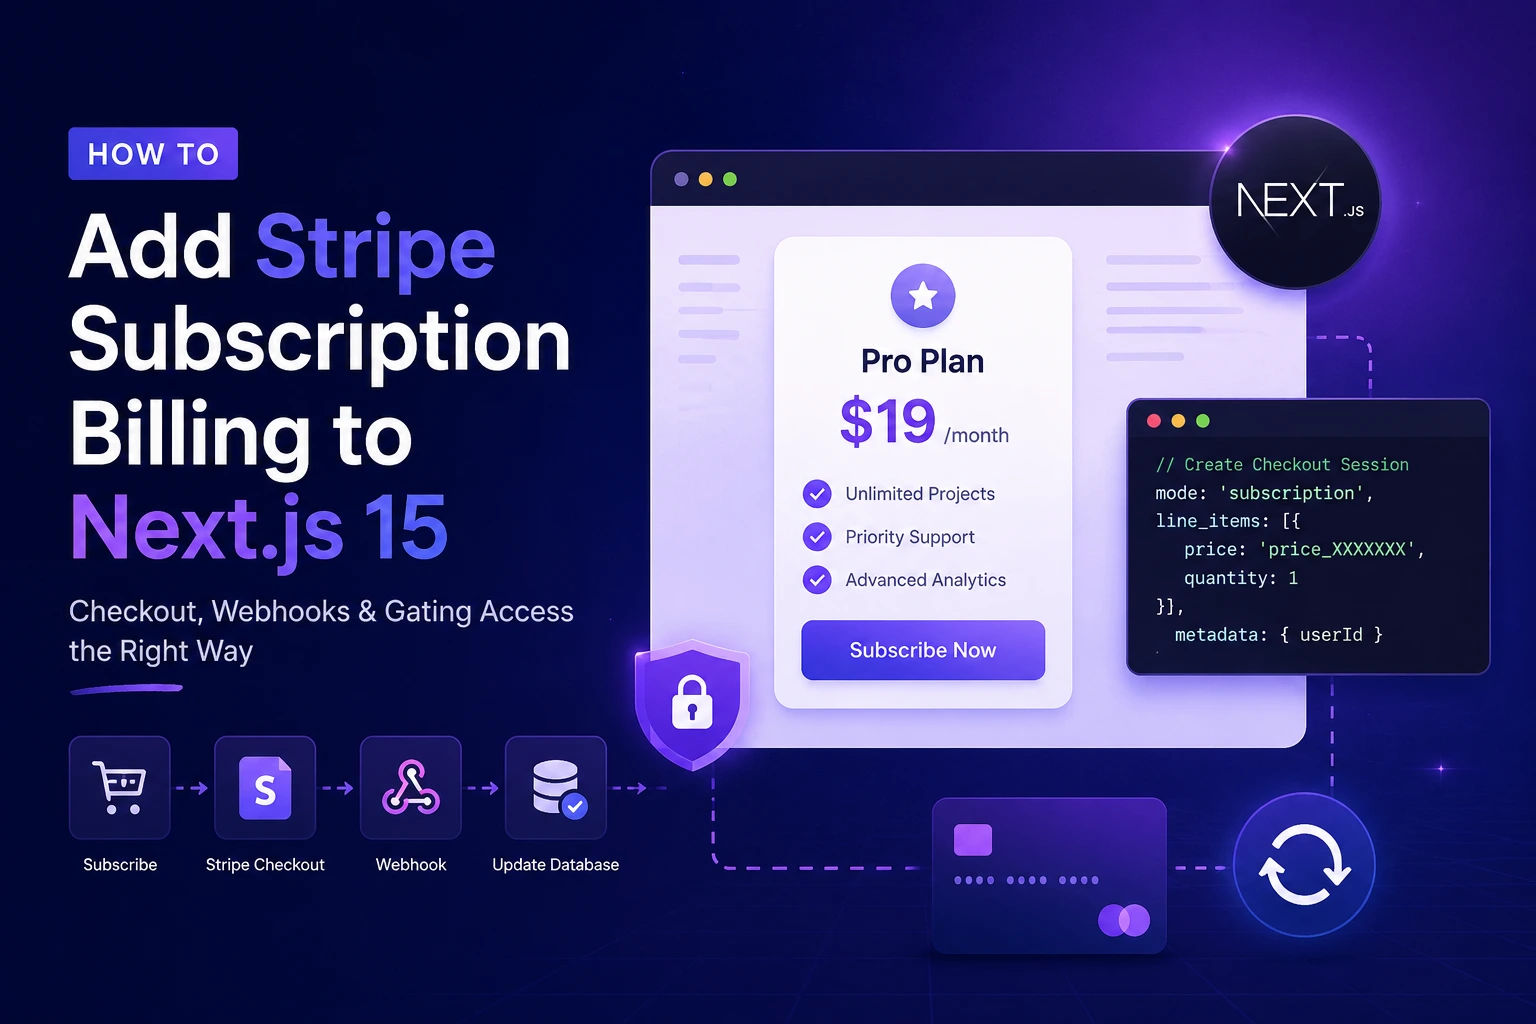
A practical, copy-paste guide to adding Stripe subscription billing to a Next.js 15 App Router app - checkout, webhooks, and gating access the right way.
Adding subscription billing is the moment a side project starts feeling like a real SaaS - and Stripe makes it surprisingly approachable. But most tutorials stop at "redirect to Checkout" and skip the part that actually matters: handling webhooks so your database knows who is actually paying.
In this guide I'll walk you through adding Stripe subscription billing to a Next.js 15 app using the App Router - from creating a product to gating premium features behind an active subscription. This is the same flow I use in production SaaS apps.
What you'll build
A complete subscription flow: a user clicks "Subscribe," goes to Stripe Checkout, pays, and your app reliably knows they're now a paying customer - even if they close the tab before being redirected back.
Prerequisites
- A Next.js 15 project using the App Router
- A free Stripe account
- A database (this guide assumes Prisma + PostgreSQL, but any works)
Step 1: Create your product and price in Stripe
In the Stripe Dashboard, go to the Product catalog and create a product (e.g. "Pro Plan"). Add a recurring price - say $19/month. Copy the Price ID (it starts with price_...). You'll use it to start checkout.
Step 2: Install Stripe and set environment variables
Install the Stripe SDK:
npm install stripeThen add your keys to .env.local:
STRIPE_SECRET_KEY=sk_test_...
STRIPE_WEBHOOK_SECRET=whsec_...
NEXT_PUBLIC_APP_URL=http://localhost:3000
Never expose the secret key on the client. Only the secret key touches your server code.
Step 3: Create a Checkout Session (server route)
Create a route handler at app/api/checkout/route.ts. This creates a Stripe Checkout Session and returns its URL.
import { NextResponse } from "next/server";

import Stripe from "stripe";

const stripe = new Stripe(process.env.STRIPE_SECRET_KEY!);

export async function POST(req: Request) {

  const { userId } = await req.json();

  const session = await stripe.checkout.sessions.create({

    mode: "subscription",

    line_items: [{ price: "price_XXXXXXXX", quantity: 1 }],

    success_url: ${process.env.NEXT_PUBLIC_APP_URL}/dashboard?success=true,

    cancel_url: ${process.env.NEXT_PUBLIC_APP_URL}/pricing,

    // Attach your own user id so the webhook can match the payment to a user

    metadata: { userId },

  });

  return NextResponse.json({ url: session.url });

}
The metadata field is the key detail most tutorials miss - it's how you link a Stripe payment back to a user in your own database
Step 4: The subscribe button (client)
On your pricing page, call that route and redirect the user to Stripe:
"use client";

export function SubscribeButton({ userId }: { userId: string }) {

  async function handleClick() {

    const res = await fetch("/api/checkout", {

      method: "POST",

      body: JSON.stringify({ userId }),

    });

    const { url } = await res.json();

    window.location.href = url;

  }

  return <button onClick={handleClick}>Subscribe to Pro</button>;

}
Step 5: Handle webhooks (the part that actually matters)
A user might pay and immediately close the tab - so you cannot rely on the success_url to update your database. The reliable source of truth is Stripe's webhook. Create app/api/webhooks/stripe/route.ts:
import { NextResponse } from "next/server";

import Stripe from "stripe";

const stripe = new Stripe(process.env.STRIPE_SECRET_KEY!);

export async function POST(req: Request) {

  const body = await req.text(); // raw body is required for verification

  const signature = req.headers.get("stripe-signature")!;

  let event: Stripe.Event;

  try {

    event = stripe.webhooks.constructEvent(

      body,

      signature,

      process.env.STRIPE_WEBHOOK_SECRET!

    );

  } catch {

    return NextResponse.json({ error: "Invalid signature" }, { status: 400 });

  }

  if (event.type === "checkout.session.completed") {

    const session = event.data.object as Stripe.Checkout.Session;

    const userId = session.metadata?.userId;

    // Mark this user as subscribed in your database

    // await db.user.update({ where: { id: userId }, data: { isPro: true } });

  }

  if (event.type === "customer.subscription.deleted") {

    // Subscription cancelled - revoke access in your database

  }

  return NextResponse.json({ received: true });

}
Two things developers get wrong here:
(1) you must read the raw request body with req.text() - parsing it as JSON breaks signature verification.
(2) you must verify the signature, otherwise anyone could fake a "user paid" event.
Testing webhooks locally
Use the Stripe CLI to forward events to your local app:
stripe listen --forward-to localhost:3000/api/webhooks/stripeIt prints a webhook signing secret - paste that into STRIPE_WEBHOOK_SECRET.
Step 6: Gate premium features
Now that your database knows who's paying, gating access is trivial. On a protected page or route, just check the flag:
if (!user.isPro) {

  redirect("/pricing");

}
That's the whole loop: checkout → webhook updates your DB → your app checks the DB.
Common mistakes to avoid
- Relying on success_url instead of webhooks to grant access. Always use webhooks as the source of truth.
- Forgetting metadata, so you can't tell which user paid.
- Parsing the webhook body as JSON, which breaks signature verification.
- Shipping test keys to production. Swap to live keys and a live webhook secret on deploy.
Frequently asked questions
Do I need a database to use Stripe subscriptions?
Yes, practically speaking. Stripe tracks the payment, but your app needs to store which of your users is subscribed so you can gate features. The webhook keeps the two in sync.
Why use webhooks instead of the success redirect?
Because a user can pay and never reach the redirect (closed tab, lost connection). Webhooks are server-to-server and reliable, so they're the correct source of truth.
Does this work with the Next.js App Router?
Yes. This entire guide uses Next.js 15 App Router route handlers. The only App-Router-specific detail is reading the raw body with req.text() in the webhook.
Can I add a free trial?
Yes - pass subscription_data: { trial_period_days: 14 } when creating the Checkout Session.
Adding billing is one of those features that looks small but quietly decides whether your SaaS feels trustworthy. If you'd rather have subscription billing set up correctly the first time - webhooks, edge cases and all -=- I help founders build production-ready SaaS on Next.js. Tell me what you're building (https://osamahabib.com/contact) and I'll help you ship it.
Osama Habib
Multan, Pakistan
Full Stack Developer specialising in Next.js, Node.js, and the MERN stack. I write about modern web development, system design, and practical engineering.